ERPNext

Please feel free to contact us
Go
Please feel free to contact us
Go
ERPNext is an end-to-end business solution that helps you to manage all your business information in one application and ready-to-launch image on Amazon EC2. It forms a backbone of your business to add strength, transparency and control to your enterprise.
MIRI InfoTech is configuring and publishing ERPNext embedded pre-configured framework and ready-to-launch AMI on Amazon EC2 that contains ERPNext, Apache, MySQL, and Ubuntu.
And a lot lot lot more.
Open the Amazon EC2 console at https://console.aws.amazon.com/ec2/.
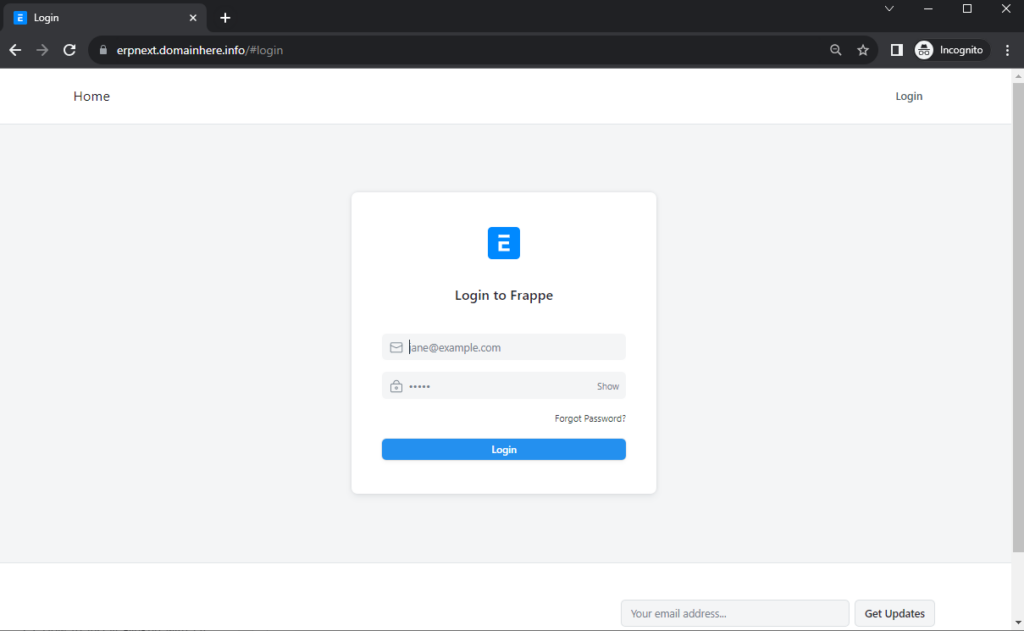
Step 1: Open your browser and navigate to the application using the following URL: http://<instance-ip-address>.
Step 2: Log in with the default credentials:
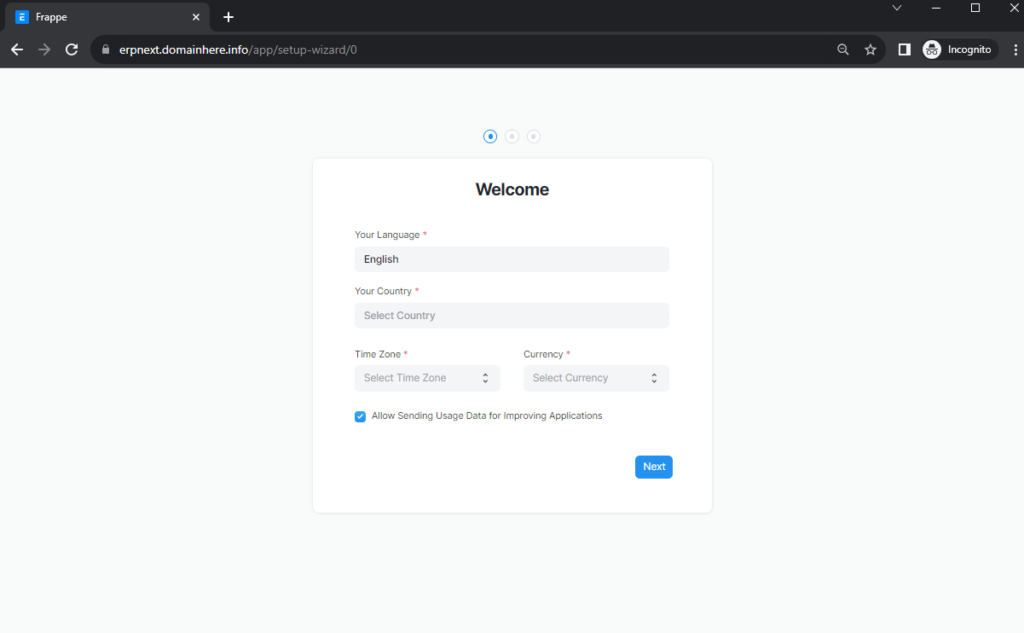
Step 3: Enter your preferred Language and Country
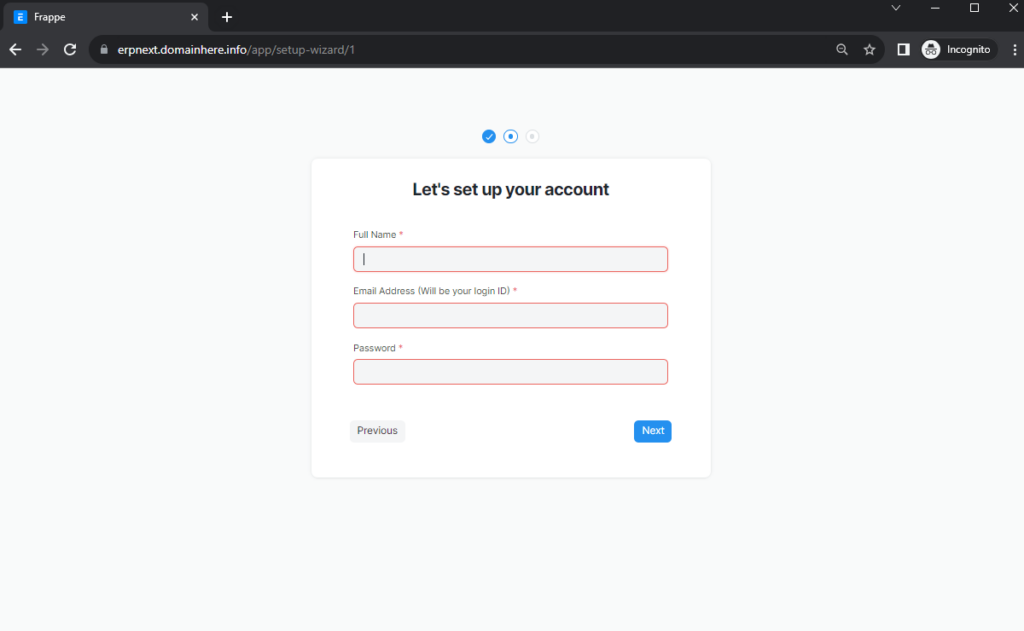
Step 4: Proceed to the setup screen and fill in the required user details.
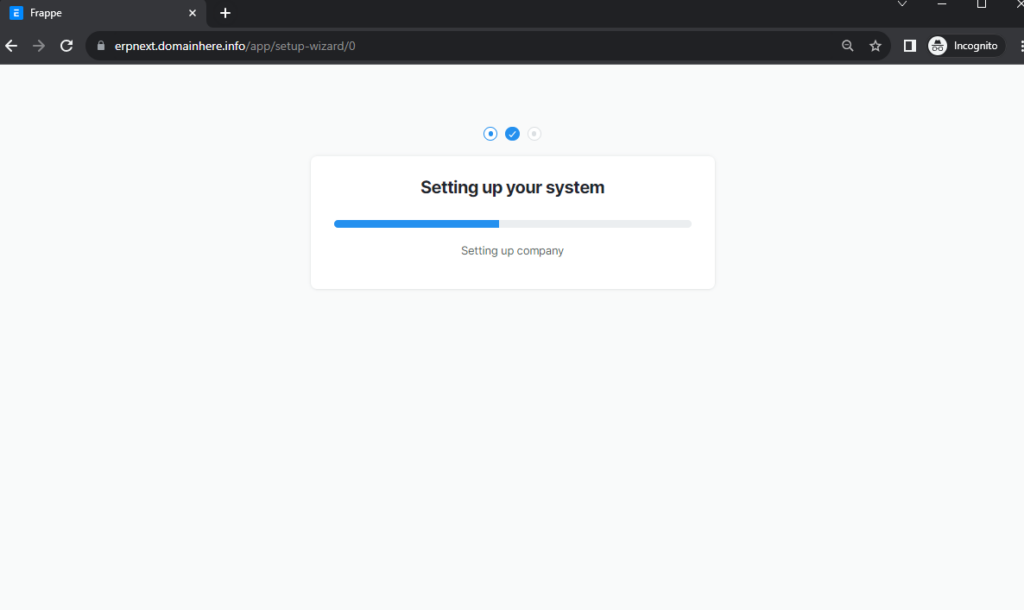
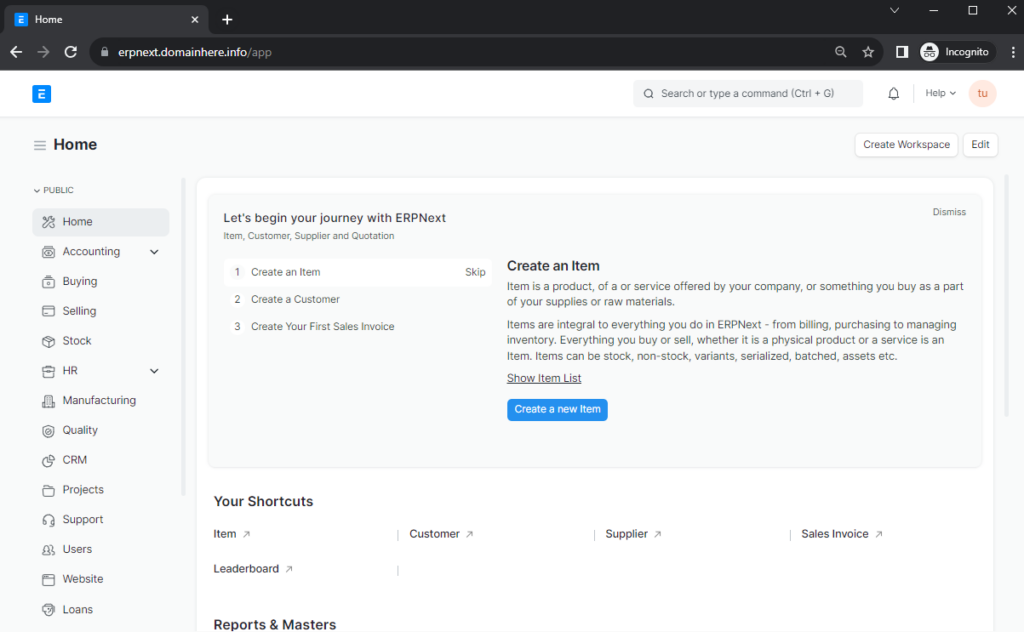
Step 5: Once the setup is complete, you will be directed to your dashboard.
All your queries are important to us. Please feel free to connect.
24X7 support provided for all the customers.
We are happy to help you.
Submit your Query: https://miritech.com/contact-us/
Contact Numbers:
Contact E-mail:
Amazon EC2 enables “compute” in the cloud. Amazon EC2’s simple web service interface allows you to obtain and configure capacity with minimal friction. It provides you with complete control of your computing resources and lets you run on Amazon’s proven computing environment. Amazon EC2 reduces the time required to obtain and boot new server instances to minutes, allowing you to quickly scale capacity, both up and down, as your computing requirements change. Amazon EC2 changes the economics of computing by allowing you to pay only for capacity that you actually use.
No. You do not need an Elastic IP address for all your instances. By default, every instance comes with a private IP address and an internet routable public IP address. The private address is associated exclusively with the instance and is only returned to Amazon EC2 when the instance is stopped or terminated. The public address is associated exclusively with the instance until it is stopped, terminated or replaced with an Elastic IP address. These IP addresses should be adequate for many applications where you do not need a long lived internet routable end point. Compute clusters, web crawling, and backend services are all examples of applications that typically do not require Elastic IP addresses.
There are two types of VPN connections that you can create: statically-routed VPN connections and dynamically-routed VPN connections. Customer gateway devices supporting statically-routed VPN connections must be able to:
In addition to the above capabilities, devices supporting dynamically-routed VPN connections must be able to:
Amazon EC2 security groups can be used to help secure instances within an Amazon VPC. Security groups in a VPC enable you to specify both inbound and outbound network traffic that is allowed to or from each Amazon EC2 instance. Traffic which is not explicitly allowed to or from an instance is automatically denied.
In addition to security groups, network traffic entering and exiting each subnet can be allowed or denied via network Access Control Lists (ACLs).
Yes, customers can optionally configure an Amazon S3 bucket to create access log records for all requests made against it. Alternatively, customers who need to capture IAM/user identity information in their logs can configure AWS CloudTrail Data Events.
These access log records can be used for audit purposes and contain details about the request, such as the request type, the resources specified in the request, and the time and date the request was processed.
By default, Amazon RDS chooses the optimal configuration parameters for your DB Instance taking into account the instance class and storage capacity. However, if you want to change them, you can do so using the AWS Management Console, the Amazon RDS APIs, or the AWS Command Line Interface. Please note that changing configuration parameters from recommended values can have unintended effects, ranging from degraded performance to system crashes, and should only be attempted by advanced users who wish to assume these risks.
For production databases we encourage you to enable Enhanced Monitoring, which provides access to over 50 CPU, memory, file system, and disk I/O metrics. You can enable these features on a per-instance basis and you can choose the granularity (all the way down to 1 second). High levels of CPU utilization can reduce query performance and in this case you may want to consider scaling your DB instance class. For more information on monitoring your DB instance, refer to the Amazon RDS User Guide.
If you are using RDS for MySQL or MariaDB, you can access the slow query logs for your database to determine if there are slow-running SQL queries and, if so, the performance characteristics of each. You could set the “slow_query_log” DB Parameter and query the mysql.slow_log table to review the slow-running SQL queries. Please refer to the Amazon RDS User Guide to learn more.
If you are using RDS for Oracle, you can use the Oracle trace file data to identify slow queries. For more information on accessing trace file data, please refer to Amazon RDS User Guide.
If you are using RDS for SQL Server, you can use the client side SQL Server traces to identify slow queries. For information on accessing server side trace file data, please refer to Amazon RDS User Guide.
Versioning allows you to preserve, retrieve, and restore every version of every object stored in an Amazon S3 bucket. Once you enable Versioning for a bucket, Amazon S3 preserves existing objects anytime you perform a PUT, POST, COPY, or DELETE operation on them. By default, GET requests will retrieve the most recently written version. Older versions of an overwritten or deleted object can be retrieved by specifying a version in the request.
Identify and track your key performance indicators (KPI's).
Maintain a database of all your customers, suppliers and their contacts.
Determine effective selling price based on the actual raw material, machinery and effort cost.
ERPNext