Influxdb


Please feel free to contact us
Go
An InfluxDB is a time-series database (TSDB) optimized for time-series data. The time-series data are simply metrics or events which are tracked, monitored, and aggregated over time.
These data could be server metrics, web application performance monitoring, sensor data, and many other types of analytics data.
InfluxDB is built on a SQL-like query language called InfluxQL, which makes it easy to query and analyze time-series data. It also has a built-in HTTP API that enables you to easily write and read data, as well as query and manage the database.
In addition, InfluxDB supports several data integrations and plugins, including Grafana, Telegraf, and Kapacitor, which enable you to easily monitor and analyze your data. Overall, InfluxDB is a powerful database solution for applications that require high-performance and scalable storage and querying of time-series data. It is widely used in industries such as IoT, finance, healthcare, and more.
You can subscribe to InfluxDb, an AWS Marketplace product and launch an instance from the product’s AMI using the Amazon EC2 launch wizard.
Step 1: SSH into Your Instance: Use the SSH command with the username ubuntu and the appropriate key pair to start the application.
Username: ubuntu
ssh -i path/to/ssh_key.pem ubuntu@instance-IP
Replace path/to/ssh_key.pem with the path to your SSH key file and instance-IP with your instance’s public IP address.
Step 2: Set up InfluxDB through the UI
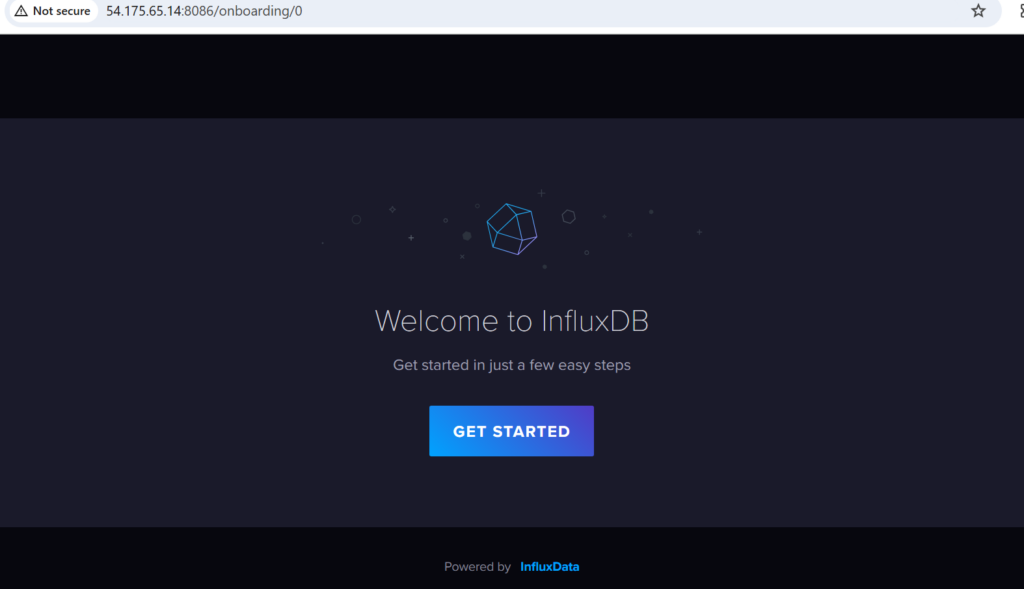
With InfluxDB running, visit http://instance-ip:8086. Click Get Started.

Step 3: InfluxDB Welcome
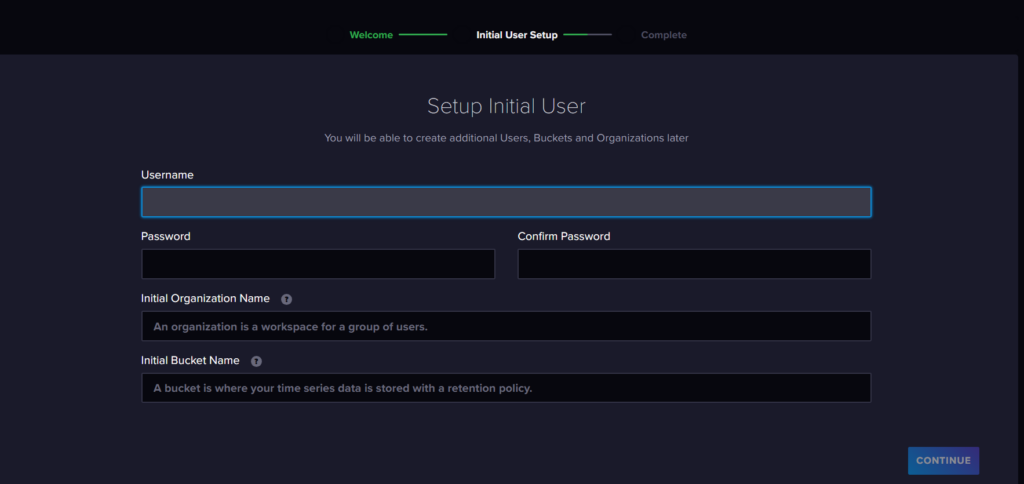
Set up your initial user


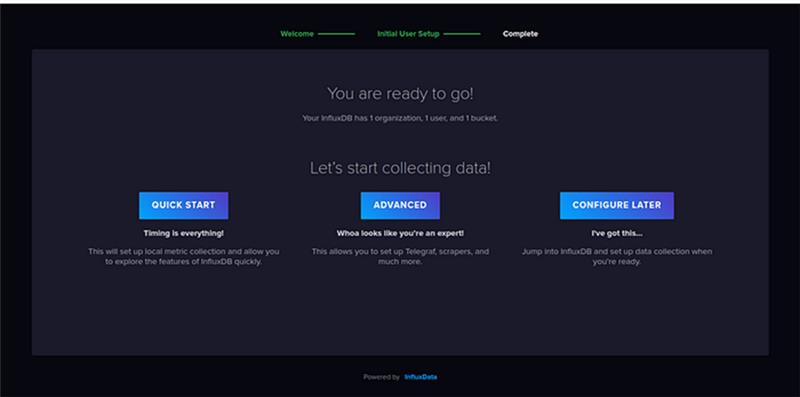
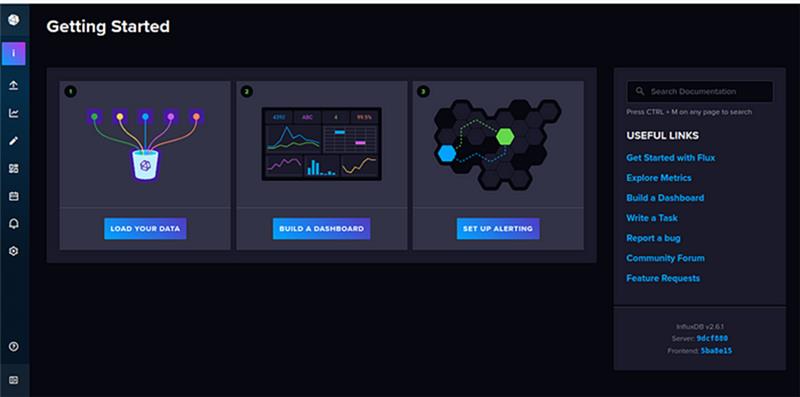
Step 4: That’s it! You have now set up InfluxDB through the UI and can begin using it to store and analyze your data.

All your queries are important to us. Please feel free to connect.
24X7 support provided for all the customers.
We are happy to help you.
Submit your Query: https://miritech.com/contact-us/
Contact Numbers:
Contact E-mail:
Database management software can help you create and manage your databases so you can easily capture and analyze data. This easily accessible data often leads to greater business insight, helping you refine your data-driven efforts.
These things vary on the sizing/number of the application transactions and/or hardware considerations for the database. For more details on this you need to request for Database Planning with our support team.
For Databases, a database administrator requires the following skill set: Database monitoring, sound knowledge of database architecture, re-organization, backups and recovery, jobs, batch scripting, performance tuning, database routines, database internals and trouble shooting.
In a rough sense, it is similar to the Post-Triggers of the database world. But with functions, the action is already completed at the data-layer, and the event handler just gives an interface by which developers can key in the logic of what needs to happen ‘after’ the action is done. What a function sees is the actual event of the change, and hence it does not directly correlate with Database Triggers.
It totally depends on the application interface that you are using. These are some following ways,
It is a process of analyzing the given relation schemas based on their functional dependencies and primary keys to achieve the following desirable properties:
Relation schemas that do not meet the properties are decomposed into smaller relation schemas that could meet desirable properties.
Scalability: Can scale horizontally to handle large volumes of data.
High Availability: Supports clustering for high availability and redundancy.
Rich Querying: Offers powerful querying capabilities to extract insights from time-series data.
 linux
linux