Mautic

Please feel free to contact us
Go
Please feel free to contact us
Go
Mautic is an open-source marketing automation platform designed to help businesses automate their marketing tasks and manage their customer relationships more effectively. It’s a flexible tool that offers a wide range of features to manage email campaigns, lead generation, customer segmentation, and analytics.
You can subscribe to Mautic, an AWS Marketplace product and launch an instance from the product’s AMI using the Amazon EC2 launch wizard.
Step 1: SSH into your instance with username ubuntu and key pair to start the application
Username: ubuntu
ssh -i ssh_key.pem ubuntu@instance-IP
Step 2: Use your web browser to access the application at:
http://<instance-ip-address>
Replace <instance-ip-address> with the actual IP address of the running EC2 instance.
Finish Mautic’s Installation via Panel
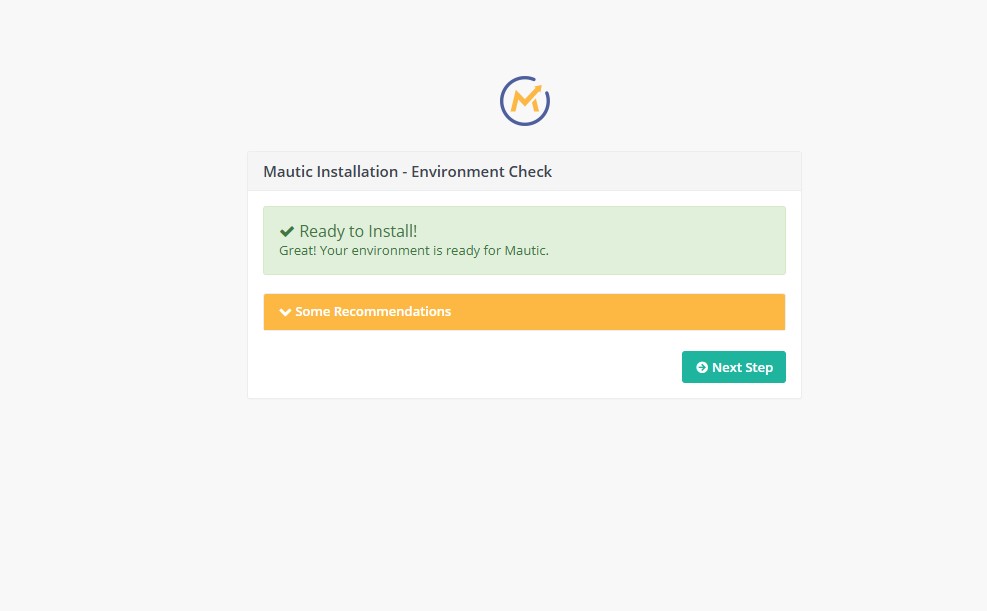
After everything has gone well thus far, we should be at our final stages of installing Mautic Marketing software. In this step open [http://ip-address-or-domain-name/] to launch the Mautic installation panel on your browser. The first page will be as shown below. You can view the recommendations and apply them if you can. Otherwise, click “Next Step“
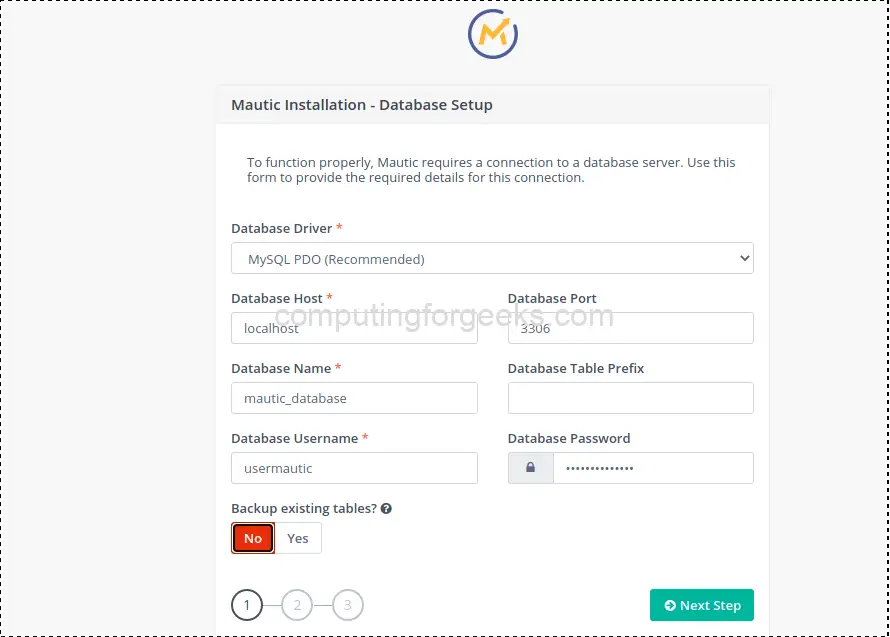
On the second page, you will be presented with a form to fill in Database details. These are the ones we set up in Step 3. Input the username and database name you used as well as your password. Since we have no existing database, click on “No“. Hit “Next Step” to Verifying the details and create the database. This may take a few seconds.
DataBase Name – mautic
DataBase User – Admin
DataBase Password- admin@123
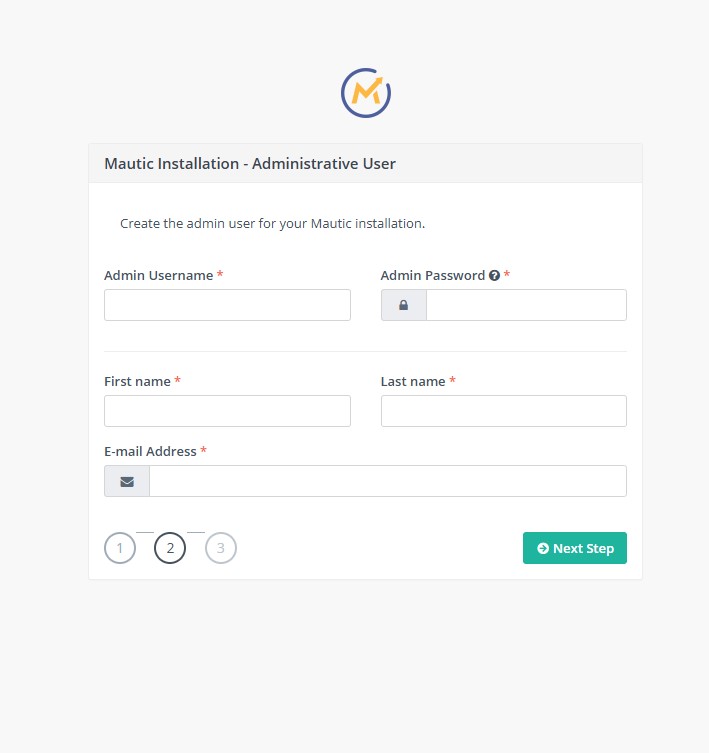
Once it is done, a new Administrative User form will be presented. Once again, fill in your Admin details and email then click “Next Step” button.
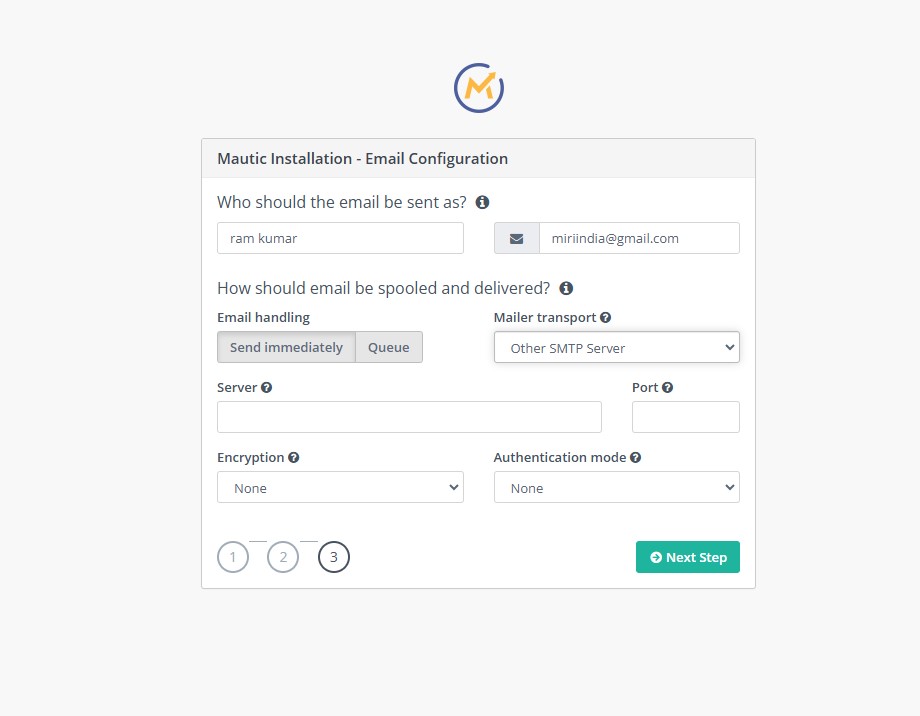
The next pane requires your mail settings. The drop-down “Mailer-transport” part has many platforms you can use to be receiving your mail from Mautic. Kindly use the one you prefer here and enter the details as required. Click “Next Step” once done. This will complete the installation.
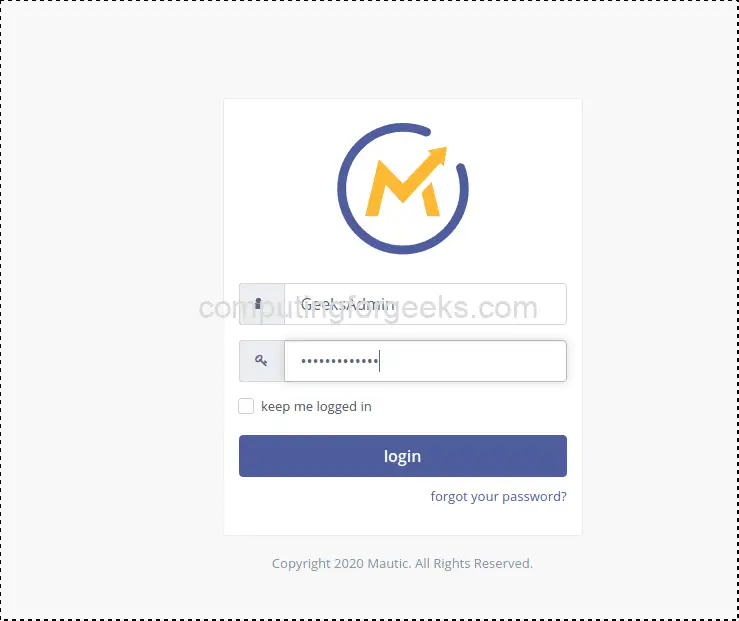
Next, you will be required to log into Mautic Dashboard using the Administrative User details.
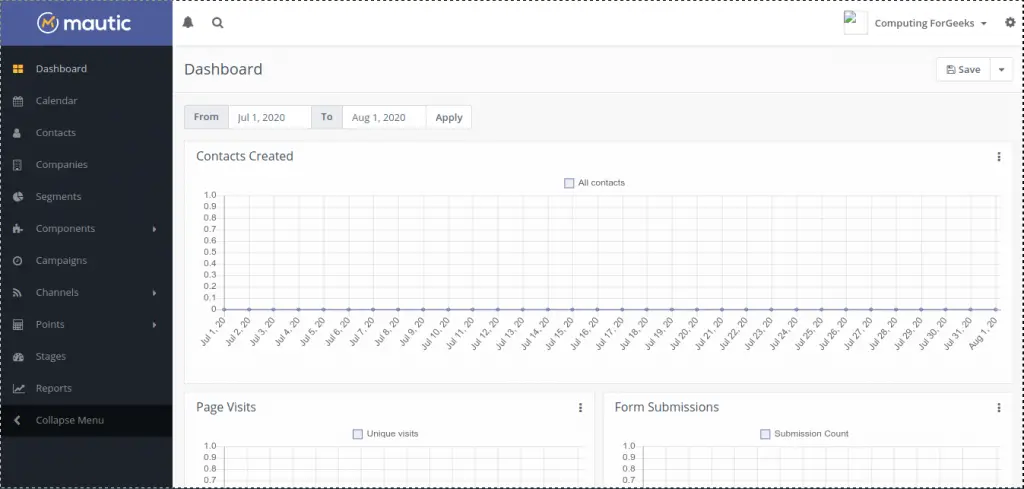
And your dashboard should blaze your eyes and beckon you to start configuring contacts, campaigns, Channels and others.
All your queries are important to us. Please feel free to connect.
24X7 support provided for all the customers.
We are happy to help you.
Submit your Query: https://miritech.com/contact-us/
Contact Numbers:
Contact E-mail:
It doesn’t really matter what web framework to choose for developing a CRM system: ASP.NET, Spring, AngularJS, Express, Symfony, Django or Ruby on Rails. All of them have enough capabilities to make your solution work stable, process data quickly and provide scalability opportunity if necessary. If you would like your CRM application to display geographical data and maps, we recommend you to go with Djangoframework. It hosts GeoDjango module that connects to PostGIS, which is PostgreSQL’s spatial objects module. Moreover, GDALfor spatial data and PIL for images are rich enough to cover all the needs of geo data displaying. Since JavaScript is becoming more powerful, we highly recommend to consider using MEAN (Mongo, Express, Angular, Node) stack for programming a CRM app. By using Angular’s Twitter bootstrap plugin, you can create good-looking UI. Node with its multiple modules can manage server part at every step from authentication up to encryption.
The most popular modules are Sales, Marketing, and Service, however, these can be modified or go under other names, for example: Client Management, Order Management, Invoice Management, Events and Tasks Management, System Dashboard, etc.
On-premise CRM is run on computers within the premises of an organization. In this case all the data and information is stored inside the premises of the company, too. Cloud-based CRM software implies that the software and all relevant data, is accessible through the Internet and is displayed in a web browser. According to Gartner, by 2018, large organizations in mature markets will shorten the CRM replacement cycle by two years by moving to Software-as-a-Service model. Nowadays, everything is going into a cloud, and we would recommend not to stand against this. Heroku and Amazon Web Services are proving to have really good system administration and hosting capabilities. Heroku is a bit pricey, but once you subscribe, you can forget about server maintenance at all. Amazon AWS, namely S3 service, will ensure that all your data can be accessible worldwide and with download lightning speed, no matter how many people are calling your CRM server at the same time. Not every company needs to have both applications. However, the combination allows large companies to mix the vital data from each system and get a comprehensive business outlook.
Normally, analytics section in CRM is represented by reports and dashboards helping you to collect and visualise your customer data, engagement levels, sales reps productivity, won/lost opportunities ratio, to name a few. Integration with external analytical services such as Google Analytics, or Talend is also available.
To keep your data safe and sound just follow these basics: Let the specialist conduct security health check before CRM deployment to find vulnerabilities and prevent possible hacker attacks. Define access levels within your organization: set up the basic access to all the records for everyone in the system and impose restrictions on access to specific records, functionality, and workflows depending on the roles and human resource hierarchy. Keep track of user logins based on IP, API, or browser. Set up password defaults to make CRM users create a complex password and change it every 3-6 months. Regularly audit the system against the security regulations.
Depending on the type of CRM, there are several options available: Custom modules (sections) and fields. You can create a new section in CRM or remove default unnecessary ones and pick the fields to feature the module. Custom fields. You can create fields of any type (textbox, email, checkbox…) Custom UI/UX design. You can add or reorder the sections and fields on each layout, set up the navigation, add quicklinks. Custom workflow. You can map your processes across the CRM ecosystem, set alerts, data compliance checks, verifications, etc.
Lead Management & Segmentation: Organize and segment leads based on behaviors, demographics, or actions.
Campaign Automation: Create and automate complex marketing campaigns using triggers (e.g., email, SMS, social media).
Email Marketing: Design personalized email campaigns with A/B testing, targeting specific groups.
Landing Pages & Forms: Create custom landing pages and forms for lead capture and engagement.
CRM Integration: Built-in CRM features or integration with third-party CRMs (e.g., Salesforce).
Social Media Integration: Track and engage with leads across multiple social media platforms.
Analytics & Reporting: Detailed tracking of campaign performance and engagement.
Workflows & Automation: Automate tasks with workflows, trigger actions based on user behaviour.