ComfyUI AI Image Generator – Pre-Built AMI with Stable Diffusion & NVIDIA Drivers


Please feel free to contact us
Go
Please feel free to contact us
Go
ComfyUI is a highly flexible, powerful, and user-friendly node-based interface for Stable Diffusion that enables advanced AI image generation workflows with ease. Built for performance and transparency, ComfyUI allows users to visually construct custom pipelines for text-to-image generation, inpainting, image-to-image transformations, upscaling, and more — all without writing a single line of code.
Unlike traditional interfaces, ComfyUI uses a modular, drag-and-drop workflow where each node represents a specific step in the generation process, such as model loading, prompt input, sampling, or post-processing. This makes it easy to understand exactly how images are created and to fine-tune or modify each stage of the process independently. It’s especially suited for users who want full control over every parameter while maintaining a clear visual understanding of their AI pipeline.
ComfyUI supports a wide range of Stable Diffusion models and extensions and is compatible with GPU-accelerated environments, enabling fast and efficient generation. It also includes support for features such as LoRA models, ControlNet, image upscaling, prompt weighting, and batch processing — making it ideal for both casual users and professional AI artists or developers.
Features:
ComfyUI pre-installed and optimized
Stable Diffusion engine included
Compatible with NVIDIA GPU EC2 instances
Fast and easy deployment on AWS
No additional setup required
You can subscribe to Mautic, an AWS Marketplace product and launch an instance from the product’s AMI using the Amazon EC2 launch wizard.
Step 1: SSH into your instance with username ubuntu and key pair to start the application
Username: ubuntu
ssh -i ssh_key.pem ubuntu@instance-IP
Goto below path:
cd /home/ubuntu/ComfyUI
source venv/bin/activate # Activate virtual environment
python main.py –listen # Add –cpu if GPU not available
# Press Ctrl+A then D to detach
Run in the Background (Optional)
Use nohup to keep it running after closing the terminal:
nohup python main.py &
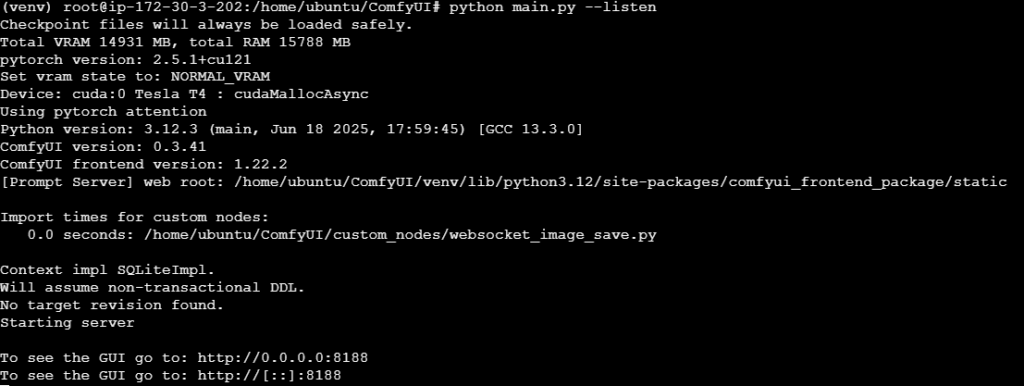
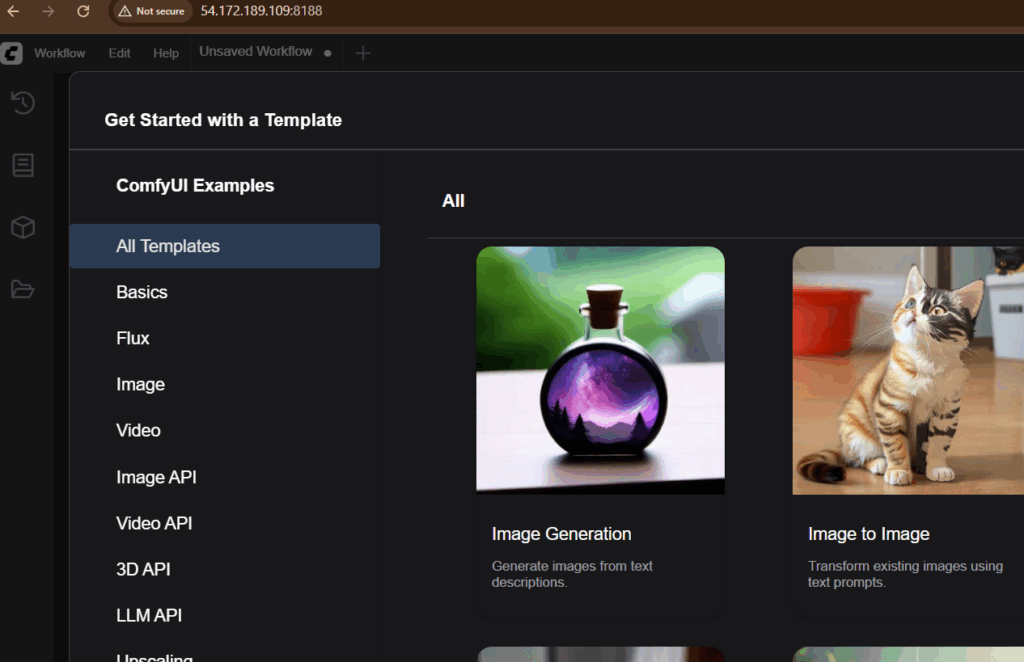
Step 2: Use your web browser to access the application at:
http://<instance-ip-address>:8188

All your queries are important to us. Please feel free to connect.
24X7 support provided for all the customers.
We are happy to help you.
Submit your Query: https://miritech.com/contact-us/
Contact Numbers:
Contact E-mail:
Node-Based Interface
GPU Acceleration
No Coding Required