Chamilo


Please feel free to contact us
Go
Please feel free to contact us
Go
Chamilo is a free and open-source e-Learning Management System (LMS) and content management system based on PHP. It’s used for online education and team collaboration by creating a virtual educational community for the students to access online courses.
Chamilo is a free and open-source e-learning management system that is extensively used for online education and team collaboration. It allows for creating a virtual campus environment for the provision of fully online and hybrid courses. Its main purpose is to provide easy access to knowledge and education globally. It is written in PHP and comes under the GNU/GPL license.
You can subscribe to Chamilo, an AWS Marketplace product and launch an instance from the Chamilo product’s AMI using the Amazon EC2 launch wizard.
Step 1: SSH into Your Instance: Use the SSH command with the username ubuntu and the appropriate key pair to start the application.
Username: ubuntu
ssh -i path/to/ssh_key.pem ubuntu@instance-IP
Replace path/to/ssh_key.pem with the path to your SSH key file and instance-IP with the public IP address of your instance.
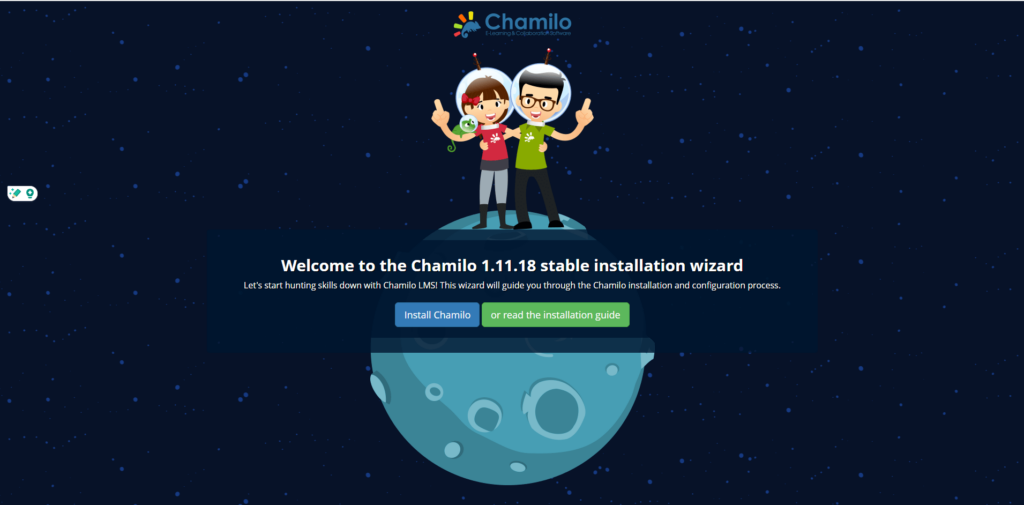
Step 2: As we have set up and configured everything required for Chamilo LMS, now we will move towards its web-based installation. To do so, open any web browser and open the following address:
http://ip-address
Step 3: Select the installation language from the drop-down menu and click Next.

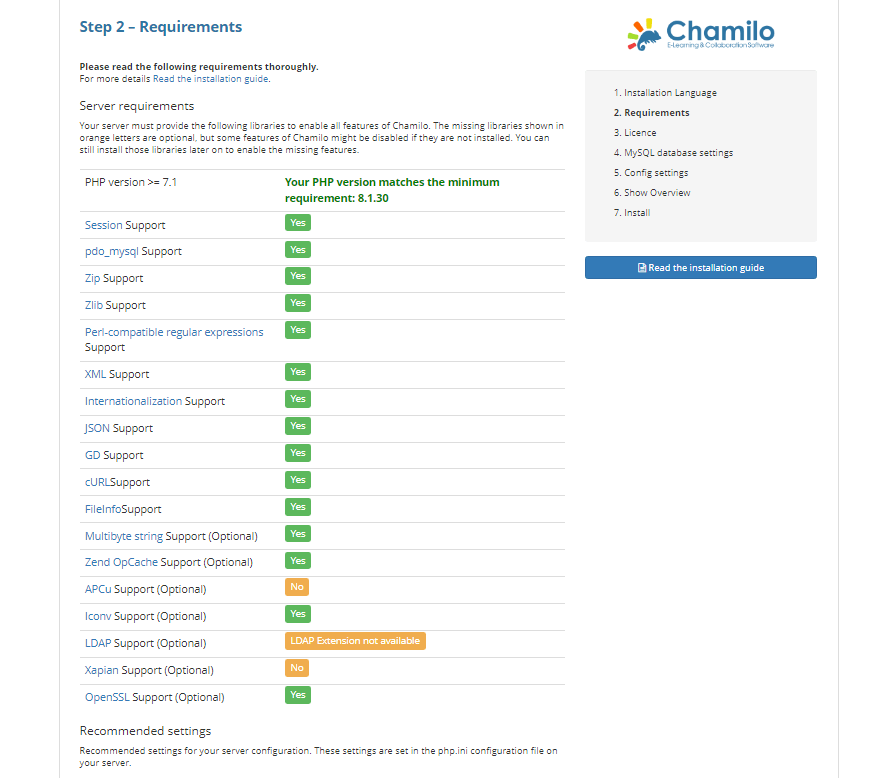
Step 4: In the next screen, you will see the requirements that are essential for the fully-featured Chamilo LMS. Make sure all the requirements are met. If something is missing, you will see them in the orange color and you can install them later. Click on New installation button at the bottom of the web page to move to the next step.
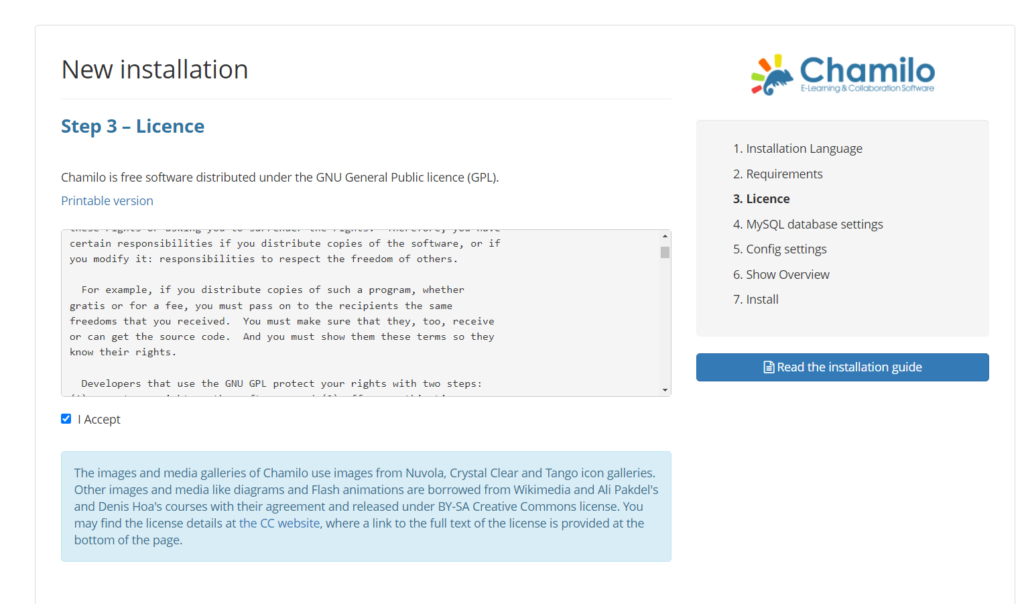
Step 5: Now you will see the License agreement page, click on I Accept checkbox and click the next button.
Step 6: Now we will do database configuration to connect Chamilo with the MariaDB database for the purpose of storing and retrieving data. In the fields, add localhost as a database host, 3306 as a port number. Then in the last three fields, enter database login user, password and the database name respectively that you have set earlier.
Once you are done, click on the Check database connection. If there is no error, move on to the next step by clicking on the Next button.
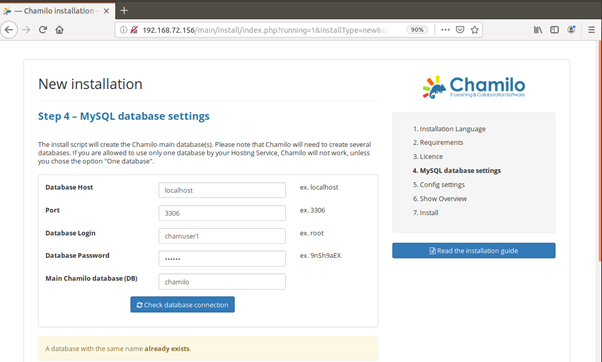
Database Host: localhost
Database login: admin
Database Password: Admin@123
Database name: chamilo
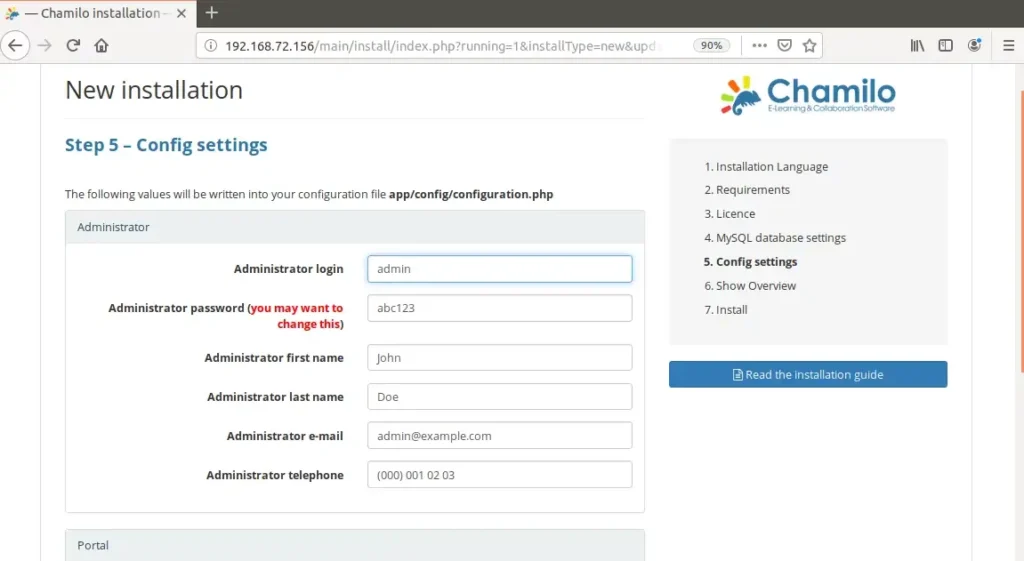
Step 7: Now configure the admin account by entering the required admin credentials.
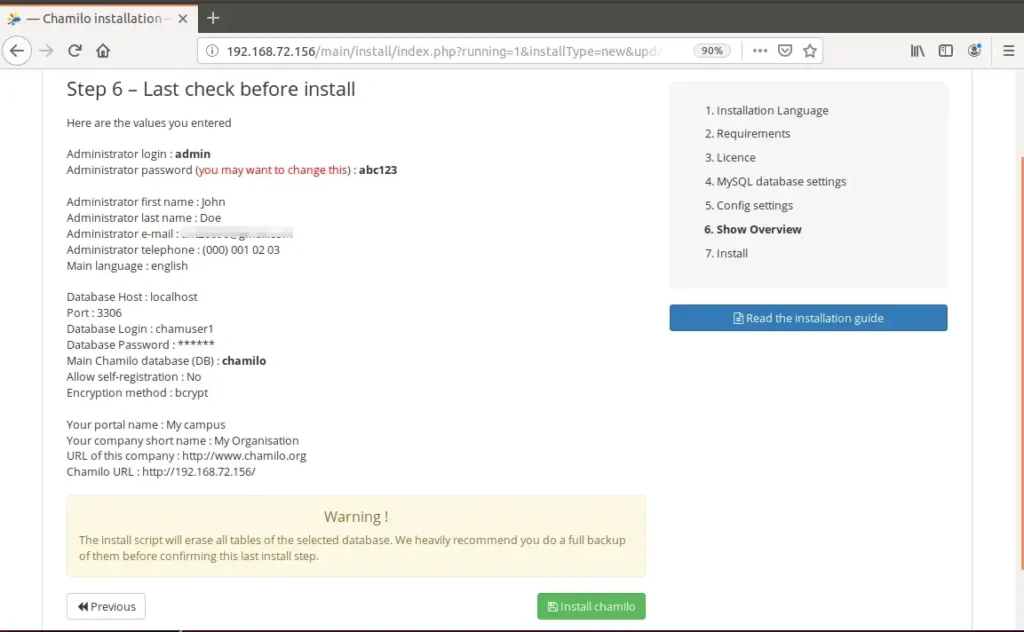
Step 8: Review the settings and then click on Install Chamilo button.
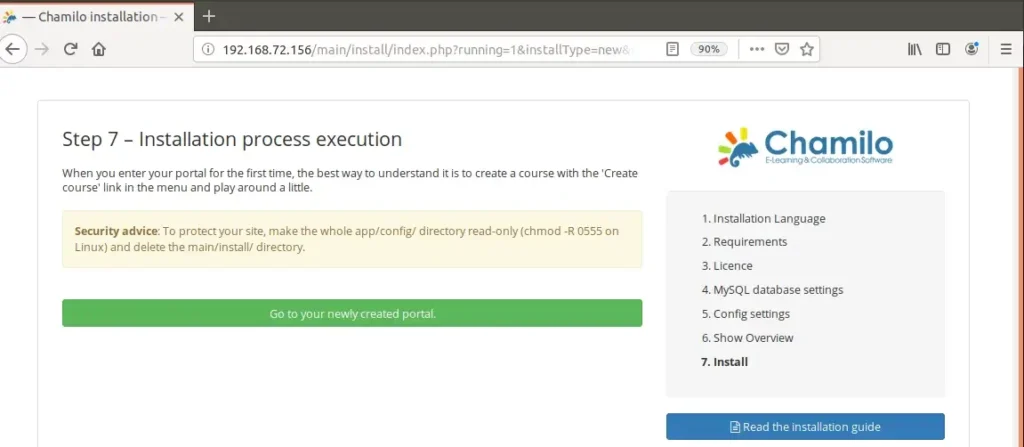
Step 9: Wait for a while until the installation is completed and you see the following screen. Click on Go to your newly created portal to finish the installation wizard.
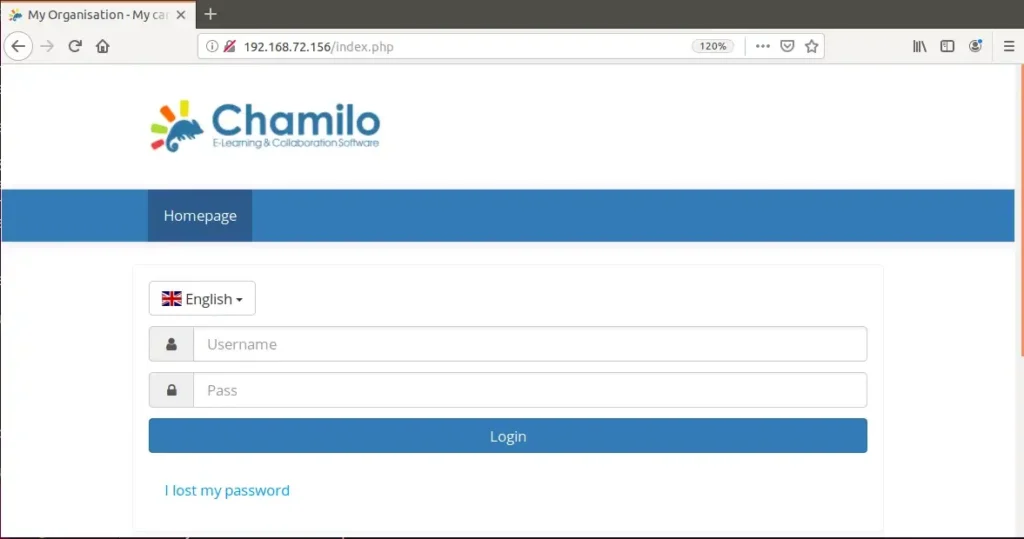
Step 10: Now you will see the following Chamilo login page. Enter the required credentials and click on the Login button.
All your queries are important to us. Please feel free to connect.
24X7 support provided for all the customers.
We are happy to help you.
Submit your Query: https://miritech.com/contact-us/
Contact Numbers:
Contact E-mail:
Using e-learning instead of or alongside face-to-face learning can help to reduce training costs and improve productivity across an organisation. For example, mandatory staff training like fire safety or food hygiene can be allocated when work is quiet, rather than sending people out of the office for a whole day or more.
Not really. Just make sure you have the latest version of your Web browser.
While there are many off the shelf ready-made courses available in the market, eLearning courses can be customized to your specifications. You can connect with our support team for any customization.
Absolutely. You can take the free trial for 7 days on cloud platform so you can see for yourself how easy it is to understand and navigate as a user as well as an administrator.
Complete and submit a Resource Submission Form which can be found in the Help page of the LMS. New resources will be reviewed before being placed on the LMS.
Courses and sessions management.
User management, authentication, and enrollment.
Data import/export to CSV/Excel format.
Social network for learning purposes.
Availability timeframe for tests/exams.