VTiger


Please feel free to contact us
Go
vTiger is an open-source customer relationship management (CRM) software designed to help businesses manage their customer interactions, sales, marketing, and support processes.
vTiger is a versatile CRM solution suitable for businesses of all sizes. Its open-source nature, combined with a wide range of features, makes it an attractive option for organizations looking to enhance their customer relationship management without incurring substantial costs.
vTiger is a versatile CRM solution suitable for businesses of all sizes. Its open-source nature, combined with a wide range of features, makes it an attractive option for organizations looking to enhance their customer relationship management without incurring substantial costs.
Type: Open-source CRM
Initial Release: 2004
You can subscribe to Vtiger 8.3.0, an AWS Marketplace product and launch an instance from the product’s AMI using the Amazon EC2 launch wizard.
Step 1: SSH into Your Instance: Use the SSH command with the username ubuntu and the appropriate key pair to start the application.
Username: ubuntu
ssh -i path/to/ssh_key.pem ubuntu@instance-IP
Replace path/to/ssh_key.pem with the path to your SSH key file and instance-IP with your instance’s public IP address.
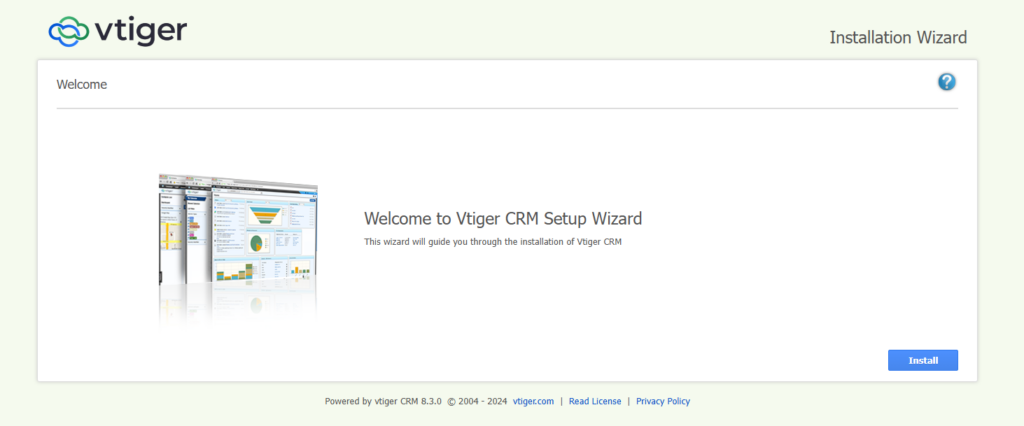
Step 2: Now, open your web browser and access vtiger web interface using the URL
http://54.175.44.59/index.php?module=Install&view=Index. You should see the following page:
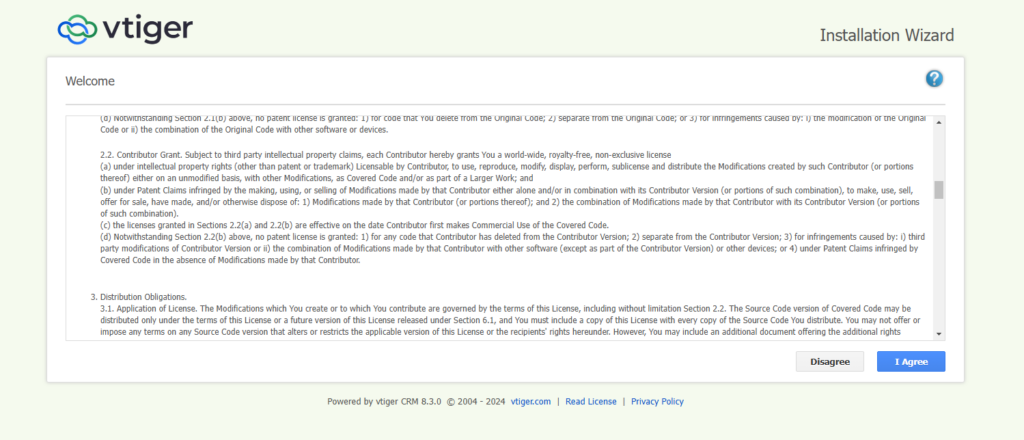
Step 3: Click I Agree.
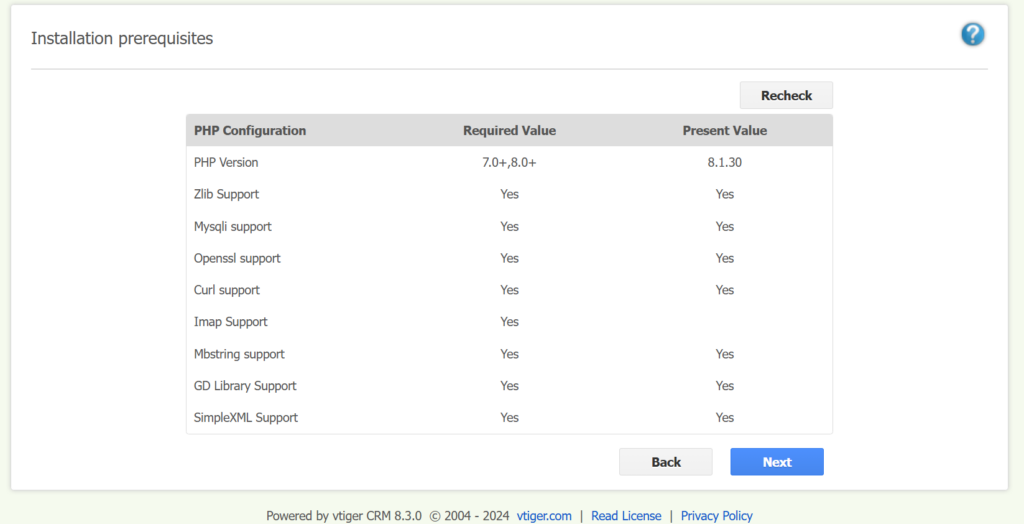
Step 4: Click Next.
Step 5: Enter all the credentials to successfully complete the configurations.
Database Host: localhost
Database name: vtiger
Username: root
Password: Admin@123
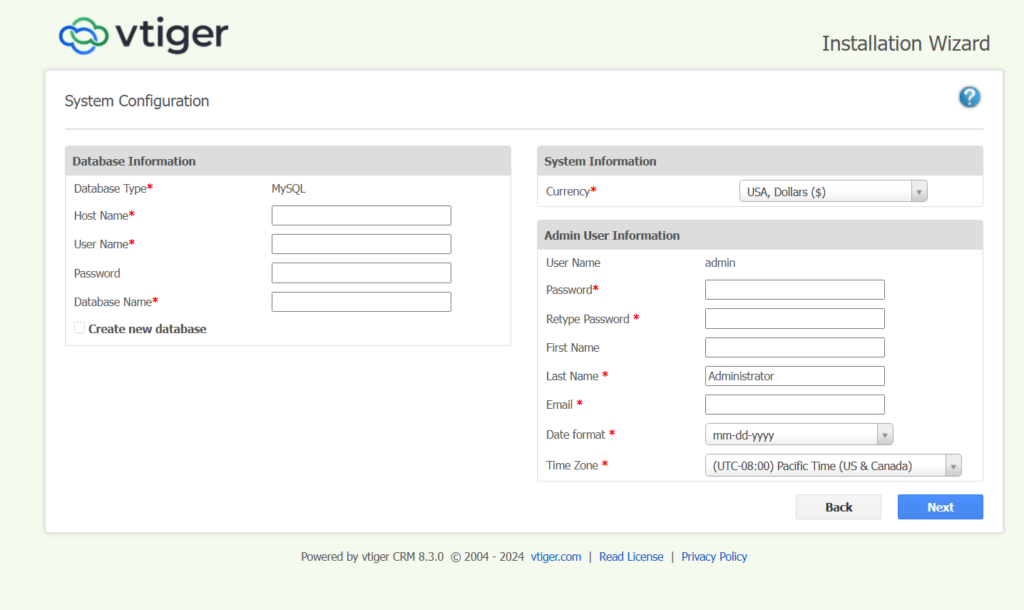
Step 6: Click Next.
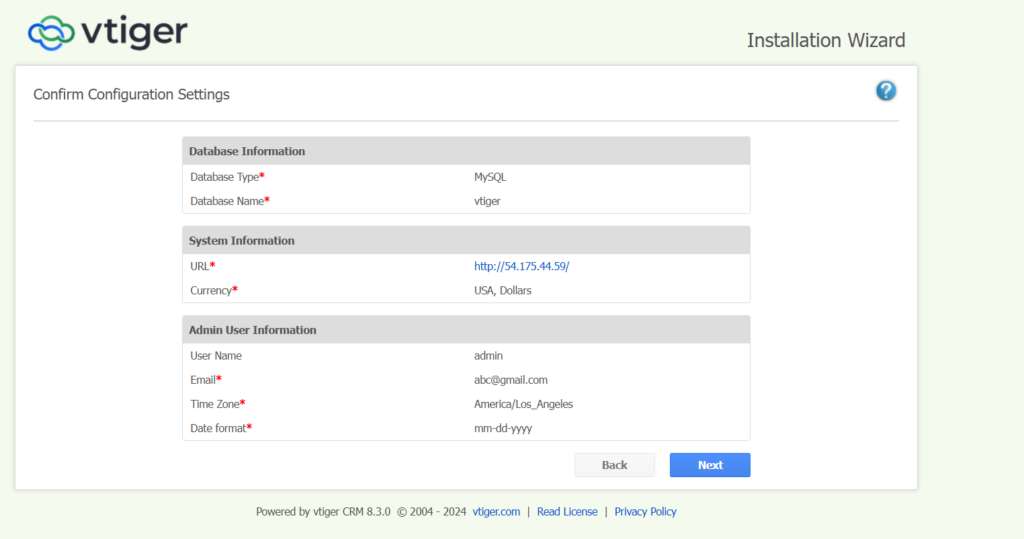
Step 7: Enter details and click Next.
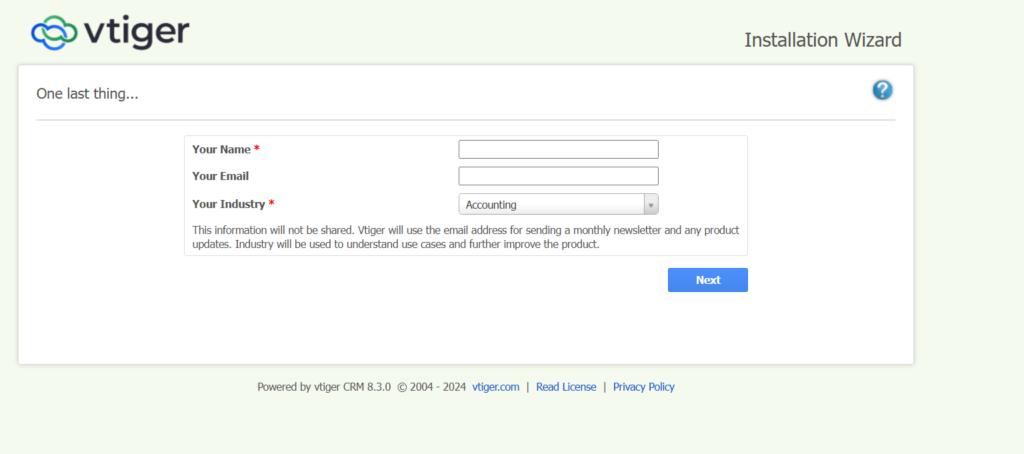
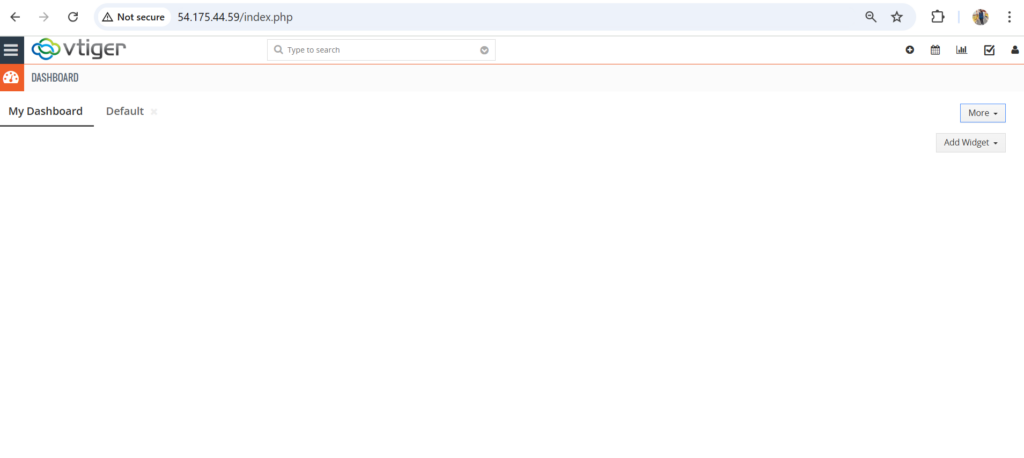
Step 8: You have successfully installed the application in your system.
All your queries are important to us. Please feel free to connect.
24X7 support provided for all the customers.
We are happy to help you.
Submit your Query: https://miritech.com/contact-us/
Contact Numbers:
Contact E-mail:
It doesn’t really matter what web framework to choose for developing a CRM system: ASP.NET, Spring, AngularJS, Express, Symfony, Django or Ruby on Rails. All of them have enough capabilities to make your solution work stable, process data quickly and provide scalability opportunity if necessary. If you would like your CRM application to display geographical data and maps, we recommend you to go with Djangoframework. It hosts GeoDjango module that connects to PostGIS, which is PostgreSQL’s spatial objects module. Moreover, GDALfor spatial data and PIL for images are rich enough to cover all the needs of geo data displaying. Since JavaScript is becoming more powerful, we highly recommend to consider using MEAN (Mongo, Express, Angular, Node) stack for programming a CRM app. By using Angular’s Twitter bootstrap plugin, you can create good-looking UI. Node with its multiple modules can manage server part at every step from authentication up to encryption.
The most popular modules are Sales, Marketing, and Service, however, these can be modified or go under other names, for example: Client Management, Order Management, Invoice Management, Events and Tasks Management, System Dashboard, etc.
On-premise CRM is run on computers within the premises of an organization. In this case all the data and information is stored inside the premises of the company, too. Cloud-based CRM software implies that the software and all relevant data, is accessible through the Internet and is displayed in a web browser. According to Gartner, by 2018, large organizations in mature markets will shorten the CRM replacement cycle by two years by moving to Software-as-a-Service model. Nowadays, everything is going into a cloud, and we would recommend not to stand against this. Heroku and Amazon Web Services are proving to have really good system administration and hosting capabilities. Heroku is a bit pricey, but once you subscribe, you can forget about server maintenance at all. Amazon AWS, namely S3 service, will ensure that all your data can be accessible worldwide and with download lightning speed, no matter how many people are calling your CRM server at the same time. Not every company needs to have both applications. However, the combination allows large companies to mix the vital data from each system and get a comprehensive business outlook.
Normally, analytics section in CRM is represented by reports and dashboards helping you to collect and visualise your customer data, engagement levels, sales reps productivity, won/lost opportunities ratio, to name a few. Integration with external analytical services such as Google Analytics, or Talend is also available.
To keep your data safe and sound just follow these basics: Let the specialist conduct security health check before CRM deployment to find vulnerabilities and prevent possible hacker attacks. Define access levels within your organization: set up the basic access to all the records for everyone in the system and impose restrictions on access to specific records, functionality, and workflows depending on the roles and human resource hierarchy. Keep track of user logins based on IP, API, or browser. Set up password defaults to make CRM users create a complex password and change it every 3-6 months. Regularly audit the system against the security regulations.
Depending on the type of CRM, there are several options available: Custom modules (sections) and fields. You can create a new section in CRM or remove default unnecessary ones and pick the fields to feature the module. Custom fields. You can create fields of any type (textbox, email, checkbox…) Custom UI/UX design. You can add or reorder the sections and fields on each layout, set up the navigation, add quicklinks. Custom workflow. You can map your processes across the CRM ecosystem, set alerts, data compliance checks, verifications, etc.
Amazon RDS manages the work involved in setting up a relational database: from provisioning the infrastructure capacity you request to installing the database software. Once your database is up and running, Amazon RDS automates common administrative tasks such as performing backups and patching the software that powers your database. With optional Multi-AZ deployments, Amazon RDS also manages synchronous data replication across Availability Zones with automatic failover.
Since Amazon RDS provides native database access, you interact with the relational database software as you normally would. This means you’re still responsible for managing the database settings that are specific to your application. You’ll need to build the relational schema that best fits your use case and are responsible for any performance tuning to optimize your database for your application’s workflow.
By default, Amazon RDS chooses the optimal configuration parameters for your DB Instance taking into account the instance class and storage capacity. However, if you want to change them, you can do so using the AWS Management Console, the Amazon RDS APIs, or the AWS Command Line Interface. Please note that changing configuration parameters from recommended values can have unintended effects, ranging from degraded performance to system crashes, and should only be attempted by advanced users who wish to assume these risks.
DB instances are simple to create, using either the AWS Management Console, Amazon RDS APIs, or AWS Command Line Interface. To launch a DB instance using the AWS Management Console, click “RDS,” then the Launch DB Instance button on the Instances tab. From there, you can specify the parameters for your DB instance including DB engine and version, license model, instance type, storage type and amount, and master user credentials.
You also have the ability to change your DB instance’s backup retention policy, preferred backup window, and scheduled maintenance window. Alternatively, you can create your DB instance using the CreateDBInstance API or create-db-instance command.
Cost-Effective: As an open-source solution, it can be more affordable than many proprietary CRM systems, especially for small to medium-sized businesses.
Flexibility: Customizable to fit unique business processes and workflows.
Community Support: A strong user community provides support, documentation, and shared resources.
User-Friendly Interface: Designed to be intuitive, making it accessible for users with varying levels of technical expertise.
Small to Medium-Sized Businesses: Ideal for companies looking for a robust CRM solution without the high costs associated with proprietary systems.
Sales Teams: Helps sales professionals manage leads and opportunities, track sales activities, and generate reports.
Marketing Teams: Assists in planning and executing marketing campaigns, managing contacts, and analyzing results.
Customer Support Teams: Provides tools to streamline support processes and improve customer satisfaction through effective ticket management.
 Vtiger
  php
php  apache2
  mysql
mysql  linux
linux