Atlantis CMS


Please feel free to contact us
Go
Please feel free to contact us
Go
Atlantis is a content management system (CMS) designed to simplify website administration. It enables average users to easily manage their websites, while technical users can quickly develop and enhance their web applications without starting from scratch, thanks to the many built-in features. Additionally, Atlantis can be further customized with modules and patterns. For more details, please review the sections in this guide.
You can subscribe to this product from GCP Marketplace and launch an instance from the product’s image using the GCP compute service.
Note: The list of zones is randomized within each region to encourage use across multiple zones.
Create a boot disk no larger than 2 TB to account for the limitations of MBR partitions.
The GCP Console adds a network tag to your instance and creates the corresponding ingress firewall rule that allows all incoming traffic on tcp:80 (HTTP) or tcp:443 (HTTPS). The network tag associates the firewall rule with the instance. For more information, see Firewall Rules Overview in the Virtual Private Cloud documentation.
Step 1: Do SSH to the virtual machine
Step 2: Use the following Linux command to start Atlantis.
sudo su
Step 3: Access the Atlantis Admin Interface: Navigate to the Atlantis admin interface using the following URL:
Replace your-service-ip with the public IP address of your instance.
Step 4: Login to Atlantis CMS: On the Atlantis CMS login page, enter the default credentials:
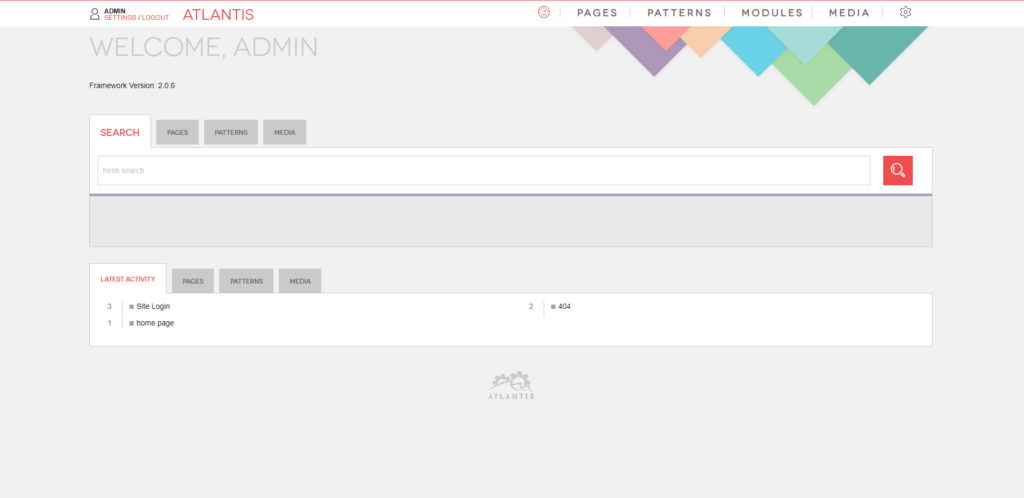
Click the Login button to access the Atlantis CMS dashboard.
This documentation provides a comprehensive guide for configuring login and authentication for Atlantis using various version control systems. Make sure to adapt the configuration details to your specific setup and requirements. Thank You.
All your queries are important to us. Please feel free to connect.
24X7 support provided for all the customers.
We are happy to help you.
Submit your Query: https://miritech.com/contact-us/
Contact Numbers:
Contact E-mail:
Taking control of your site with a content management system also has great advantages as far as your search engine rankings are concerned. All search engines like to see that websites are updated regularly and favor sites that alter their content on a regular basis. Our CMS platform provides search engine friendly web pages and also allows you to create your own page titles and meta tags used by the Search Engines for page rankings.
The CMS is browser-based and will work on both PC and Mac platforms using either Internet Explorer and Firefox. Keyboard shortcuts may vary between the two systems.
When in doubt, avoid using non-numerical or -alphabetical characters.
Requirements gathering is crucial, to make sure you buy on what you need, not on the shiny features that look good in the demonstration.
Another important factor is how easy the system is to use – most likely, the people you’d like to update the site won’t be that technically comfortable, so the best solution is one that has solid usability.
no. That is the biggest myth of CMSs. Most of the time, the real issues in content creation are around people and processes, not the technology. You need to manage your content creation like any other project – with a clear workflow and timetable, and enough people—with the right skills—to handle what you need to create. The CMS will help you get the content on to the site, but the much more difficult challenge is creating it. And computers don’t write very well.
The Web CMS does not require any special software or any technical knowledge to use. It is a web-based platform and can be accessed wherever you have an Internet connection and a web browser. The interface is very similar to Microsoft Word and does all of the HTML coding for you. You can concentrate on the content and not worry about how it will affect the page layout. It also automatically optimizes your site’s content for search, so that when someone searches for information on your site it is more likely to be found.
User-Friendly Interface
Powerful and versatile content management system
Customizable templates
Robust User and Permissions Management:
Multilingual Capabilities: